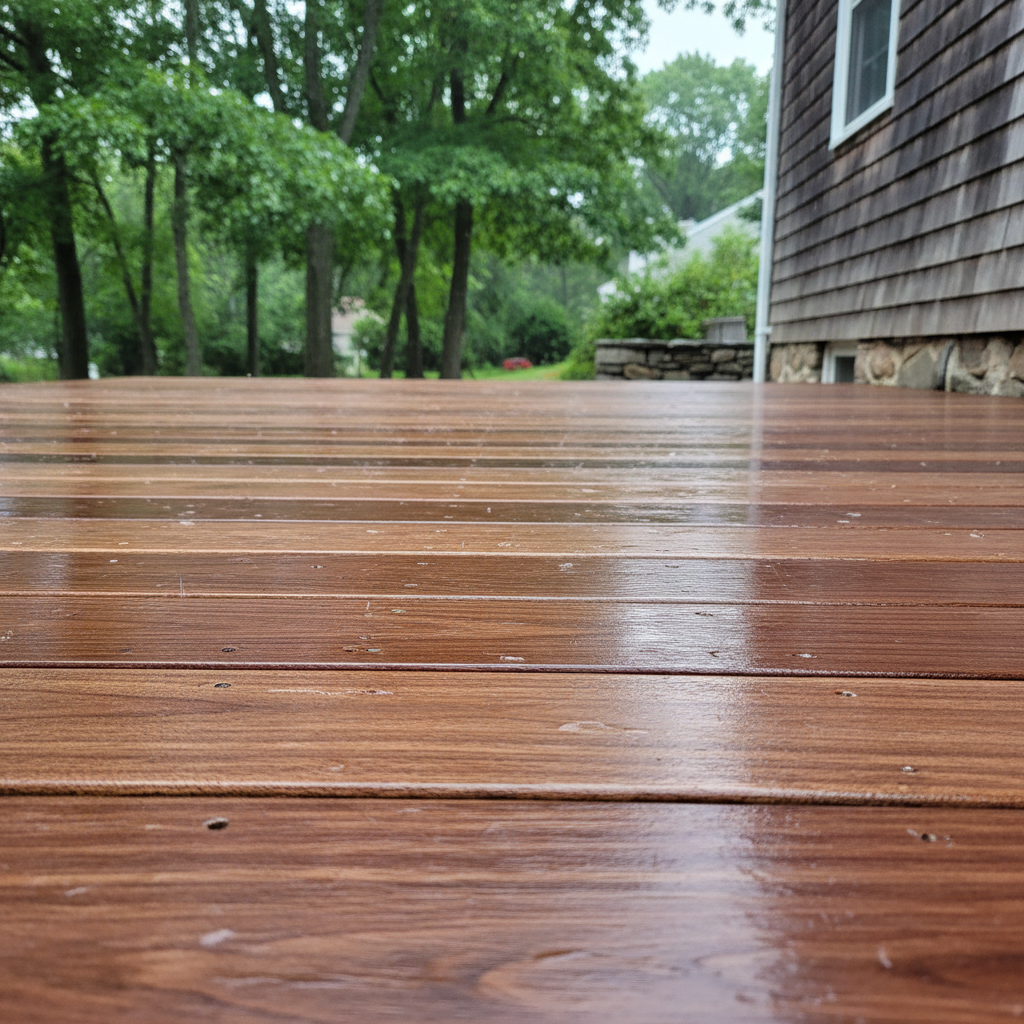
You are probably thinking about a new deck for your Warwick backyard. You might be seeing summer barbecues in your head. You might also want a quiet spot for your morning coffee. Maybe you just need more usable outdoor space. That is a great vision. It is also very achievable. Before you start drawing plans or buying wood, we should talk about what goes into building a deck. We will also talk about what you can do yourself. We will also cover when it is best to call a local expert like us at Busy Bee Decks.
Before You Lift a Finger: Planning & Permits
This part is where many homeowners get overwhelmed. They might also skip important steps. The planning phase is just as important as the actual building. You would not build a house without a blueprint. A Deck Construction project is the same.
Do Your Homework: Design & Materials
First, you need to think about what you want. You need to consider how big the deck will be. You also need to think about its shape. The type of material is also important. Here in Warwick, we have coastal humidity. We also have freeze-thaw cycles every winter. Material choice is a big deal because of this. Pressure-treated lumber is a common choice for its good cost and rot resistance. Composite decking is a great low-maintenance option as well. It stands up well to our weather. You should think about how the deck will connect with your house and yard. Do not just put a rectangle on the back of your house. A multi-level design or a wrap-around deck might work better for your property.
The Permit Puzzle: Do Not Skip This!
This step is not something you can skip. You absolutely need a building permit for most Deck Construction projects in Warwick. This is especially true for new decks. It is also true for big structural changes. The City of Warwick Building Department looks at plans. They make sure everything meets local zoning rules. They also make sure it meets the Rhode Island State Building Code. If your deck is attached to your house, a permit is required. If it is more than 30 inches above the ground, a permit is also required. Even if it is freestanding and under 200 square feet, some towns might still need one. You should always check. Skipping this can lead to fines. It can also mean you have to remove the deck. It can also cause big problems when you try to sell your home later on.
Permit fees in Warwick usually start around $30. There is also a percentage based on the project's value. You will likely need to send in a completed application. You will also need detailed construction plans. A property survey is also needed. They will also check for zoning compliance. Setback requirements are also checked. For example, in typical single-family residential zones in Warwick, front yard setbacks are 25 to 35 feet. Side yard setbacks are 10 to 15 feet. Rear yard setbacks are 25 to 35 feet. You must make sure your proposed deck location respects these boundaries.
DIY or Hire a Pro for Planning?
- DIY: If you are comfortable reading building codes, you can handle the planning yourself. If you can draft detailed plans to scale, you can also handle it. Navigating municipal paperwork is also part of this. Just be ready for possible changes and inspections.
- Pro: A good contractor, like us, will handle all the design work. We will also do the drafting. Permit submissions are also handled by us for you. We know the details of Warwick's specific requirements. This can save you a lot of time. It can also save you from potential frustration. We will make sure your plans meet the Rhode Island State Building Code. This includes proper footing depth as well as fastener types as well as ledger board attachment.
During Construction: Getting It Built Right
Once you have your permit, it is time to build. This is when the physical work happens. This is also where the difference between DIY and professional help becomes very clear.
The Foundation: Footings Below the Frost Line
This part is very important, especially in Rhode Island. Our frost line in central Rhode Island, including Warwick, is usually around 40-44 inches deep. This means your deck footings need to go below that depth. This prevents frost heave. If footings are not deep enough, the ground's freeze-thaw cycles will lift and shift your deck. This leads to uneven surfaces. It also causes structural problems. We typically use 10-inch concrete forms. These are set below the frost line.
Framing It Up: Structure and Safety
The framing is the main support of your deck. It needs to be strong. It also needs to be level. It must also be securely attached. We use pressure-treated lumber for the framing. This is often Southern Yellow Pine. We secure everything with corrosion-resistant hardware. Joist hangers are used where needed. Hurricane ties are also used where needed. This makes sure every connection point meets or exceeds local building codes. These codes cover live and dead loads. Proper ledger board flashing is also a must. This prevents water from getting into your house's rim joist.
Decking and Railings: The Visible Parts
This is where your material choices really show. Laying the deck boards is often a satisfying part of the build. Installing railings is also satisfying. You start to see your vision come to life during this stage. Railings need to be sturdy. They also need to meet height requirements. Baluster spacing requirements are also important for safety.
DIY or Hire a Pro for Construction?
- DIY: If you are very skilled with carpentry, you might tackle the whole build. If you have all the right tools, you might also tackle it. If you understand structural engineering principles, you might also tackle it. However, digging footings to the correct depth can be hard. Making sure of proper ledger board attachment can also be hard. Meeting all code requirements for framing can be challenging for even experienced DIYers.
- Pro: For most homeowners, hiring a professional is the safest route. This is especially true for decks attached to the house. It is also true for elevated decks. It is also the most efficient route. We have the experience. We also have the specialized tools. We have the crew to get it done right. We do it safely. We also make sure it is to code. We also handle all the necessary inspections. These are done by the Warwick Building Department throughout the process.
After the Build: Enjoyment & Maintenance
Once your deck is built, the fun starts. It is also inspected. You should not forget about ongoing care.
Inspections and Final Touches
The final inspection is important. It makes sure everything was built to code. Once that is done, you can focus on the finishing touches. This includes furniture as well as plants as well as lighting. We always do a thorough cleanup. We leave you with a beautiful space that is ready to enjoy.
Ongoing Maintenance: Keep It Looking Good
Even the best-built deck needs some attention. For wooden decks, this means regular cleaning. It also means staining or sealing every few years. This protects against our New England weather. Composite decks need less maintenance. They still benefit from occasional cleaning. This prevents mildew. It also keeps them looking fresh. You should watch for loose fasteners. You should also watch for splintering wood. Any signs of wear and tear should be addressed quickly.
Building a deck is a big investment in your home. It is also a big investment in your lifestyle. You might go the DIY route for some parts. You might also hire a full-service contractor. Making sure it is done right from the start will give you many years of safe enjoyment. If you are in Warwick and thinking about a new deck, you should reach out to Busy Bee Decks. We are always happy to talk through your ideas. We will also help you build the perfect outdoor space.